
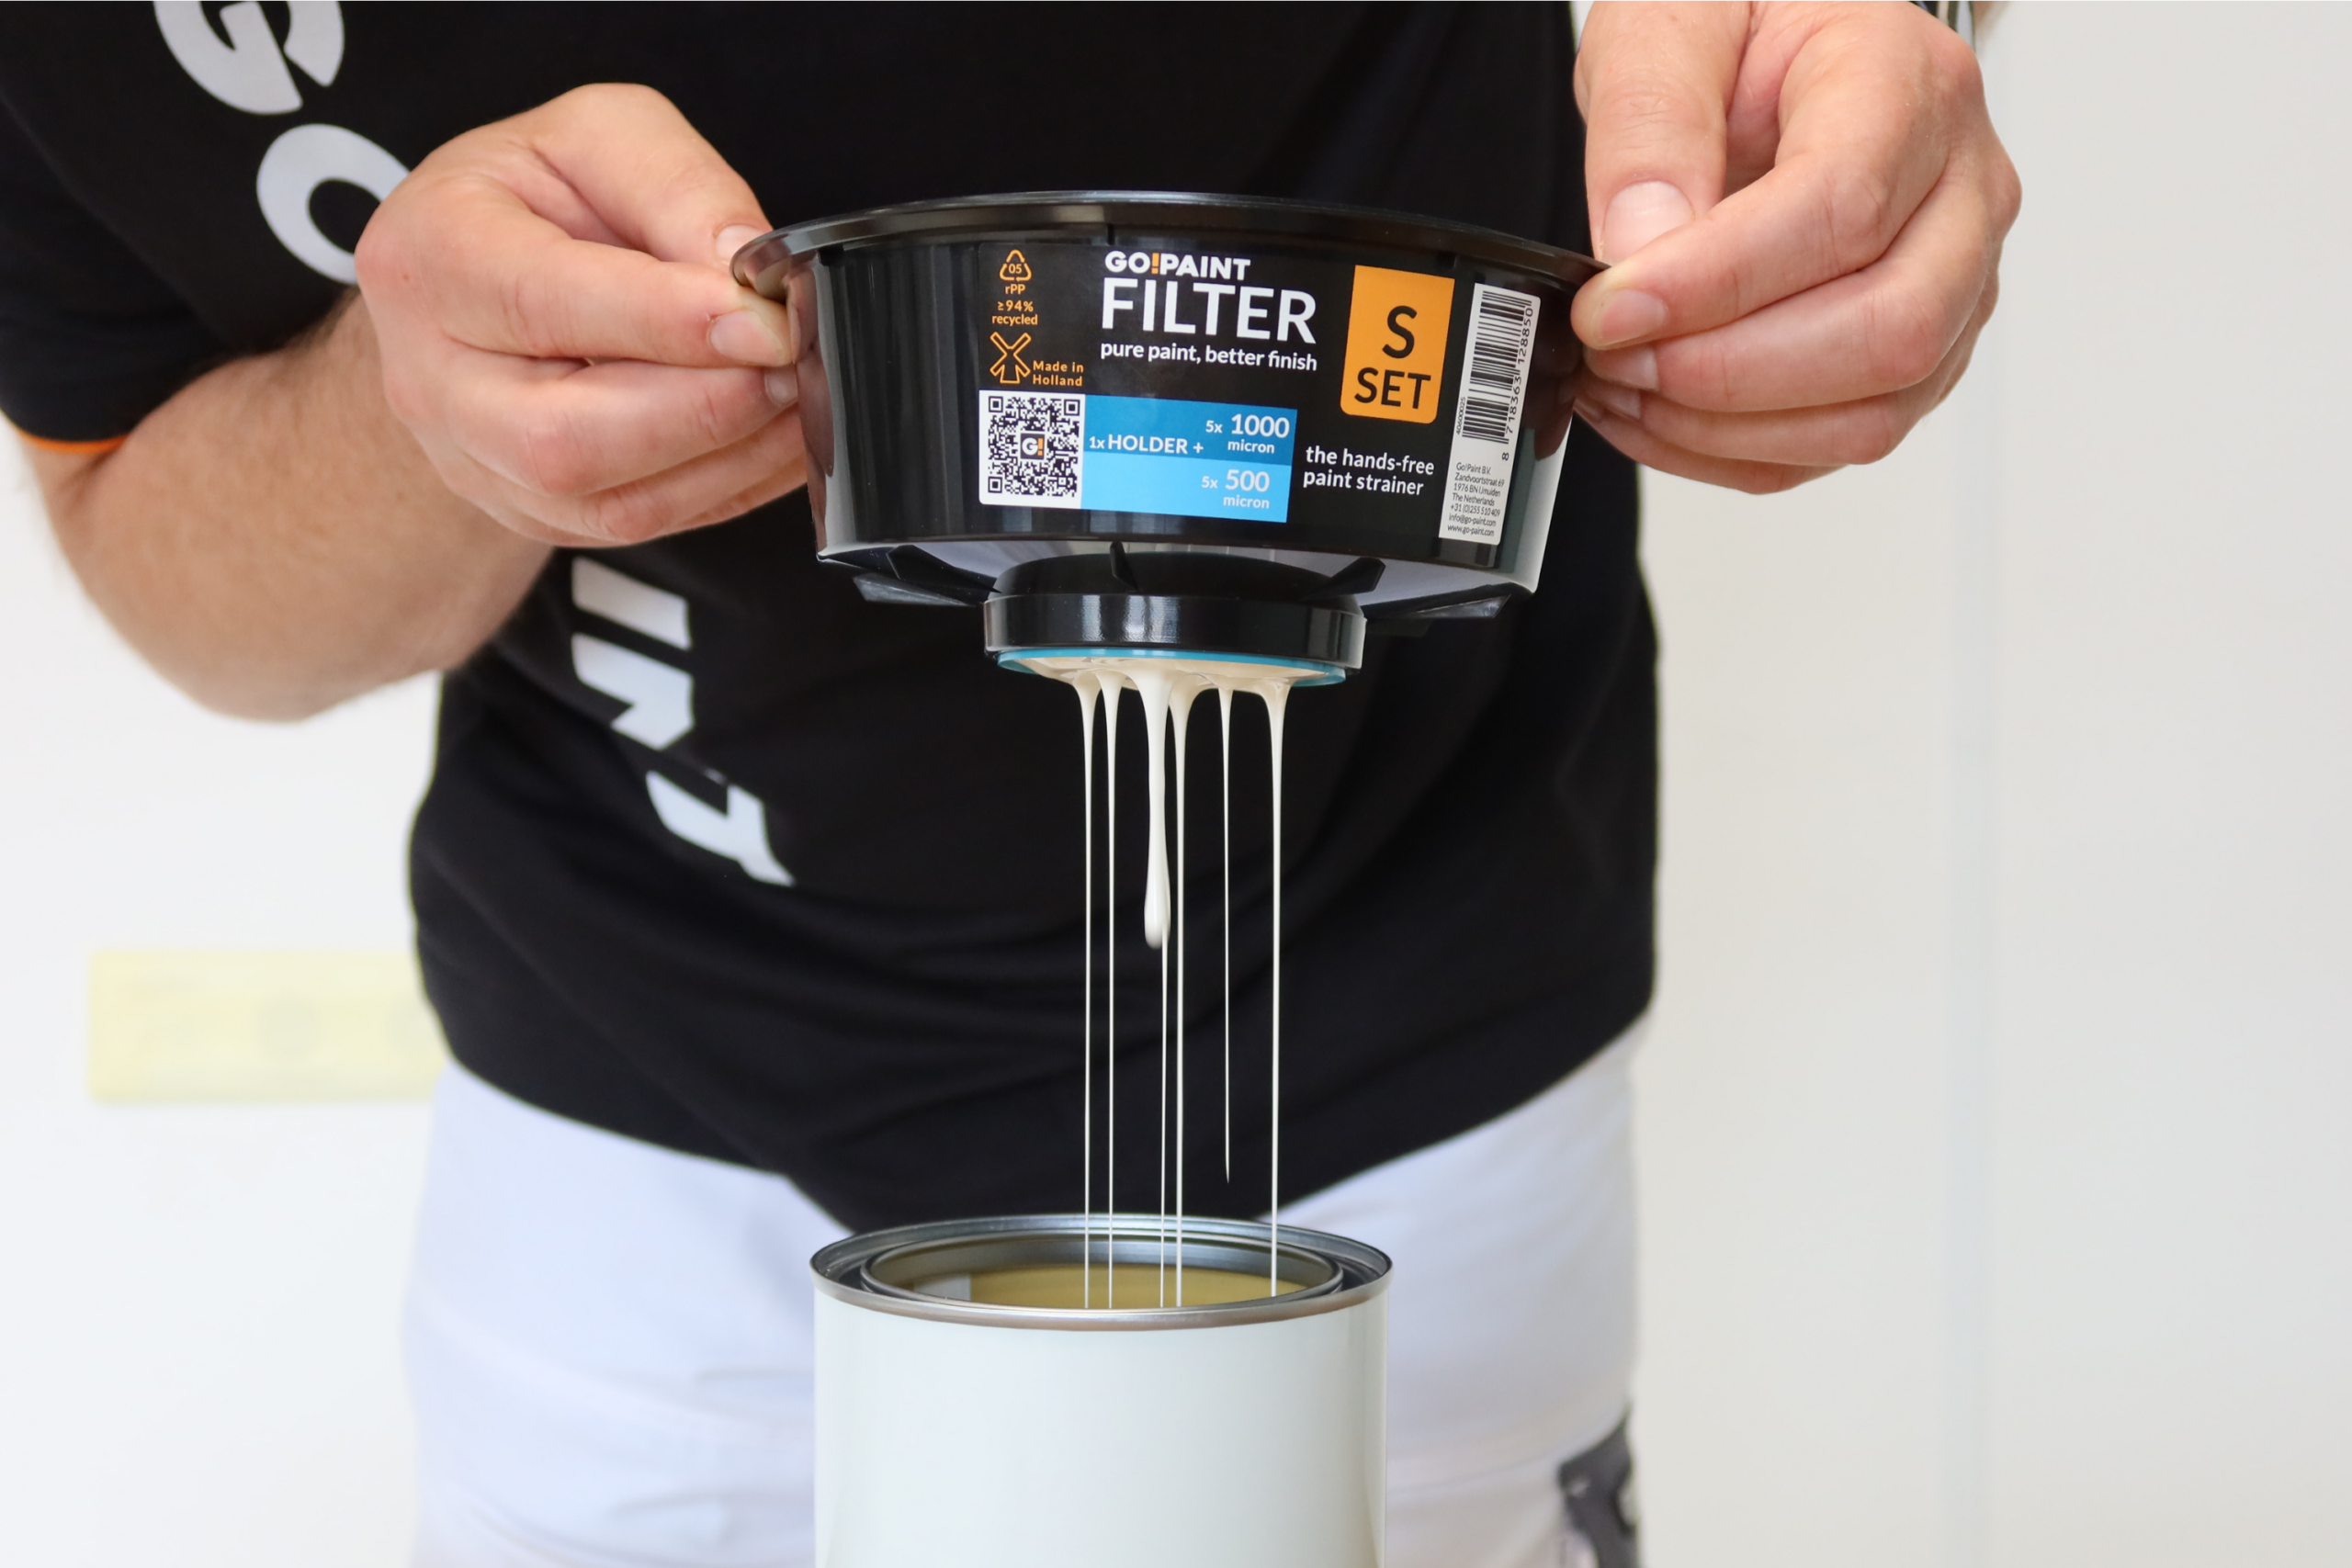
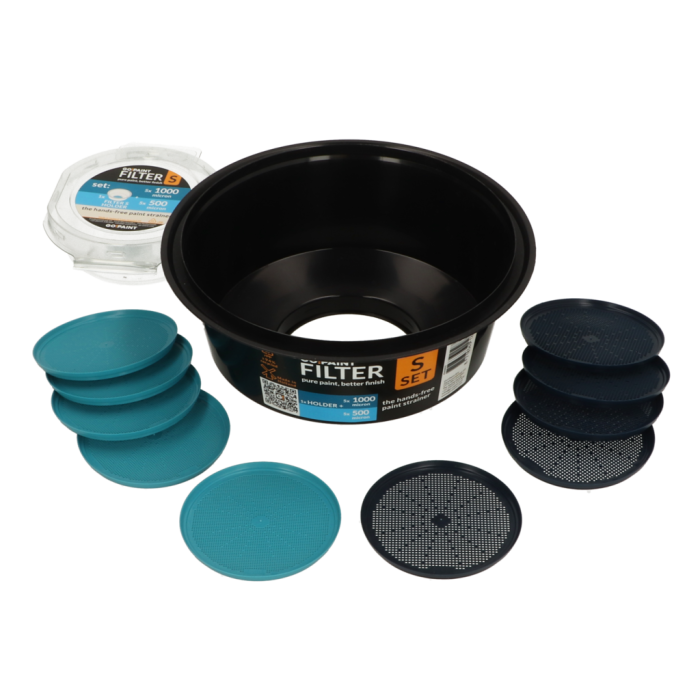
There’s nothing more annoying than finding hard bits, flakes and other dirt in your paint. Straining paint is a smart solution that saves you paint, time and money. And ultimately delivers a better finish. There are already various paint strainers on the market, each with its own advantages. GO!PAINT also has a new range of paint strainers. These have been specially developed to make it easier to strain paint, coatings and other liquids without having to stand by them. So they can be used hands-free.
When should you strain paint?
As soon as hard particles, dust or other contaminants have got into the paint, you can strain it.
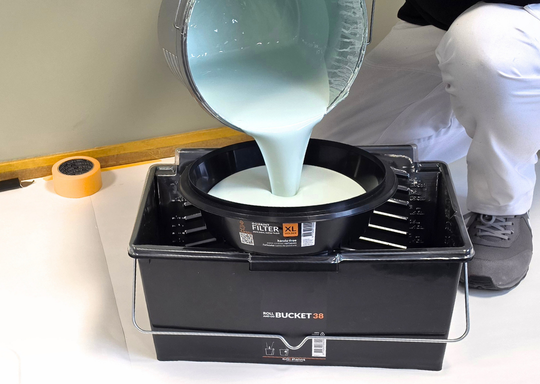
Straining paint saves a lot of hassle, as picking particles out of the paint afterwards is not only inconvenient but also damages the paint finish.
A good opportunity to strain the paint is immediately after opening the main container. With wall paint, you can strain it when the bucket is being used for a second time.
- Small particles are easily noticeable in lacquer work. You want a flawless finish, particularly on smooth surfaces such as doors, window frames and furniture. For a mirror-finish door or other high-gloss projects, sieving paint is absolutely essential.
- It is also recommended to sieve wall paint if the bucket is being used for a second time or has been left open for a while. When sieving wall paint, choose a sieve or filter with a larger mesh size than you would use for varnish.
- When spraying paint, a (fine) paint strainer is almost always used to prevent your spray gun from becoming blocked. You can also fit a GO!PAINT paint strainer to a hopper if you’re going to be spray painting. This prevents the system from becoming blocked (any sooner) and ensures you make the most of your paint.
Another good time to strain the paint is at the end of the project, when there is some paint left over. Pour this back into the original container or a smaller new container through the FILTER, so that you only keep the pure paint.
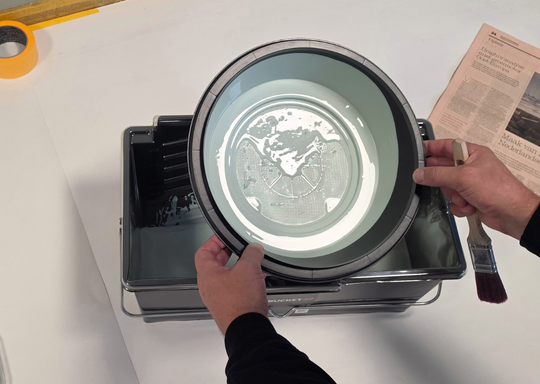
There are also situations where you may need to strain the paint whilst you’re actually painting.
For example, if dust or pollen gets into the paint, or if you’ve picked up dust on your brush whilst painting. And sometimes you might unexpectedly come across a small skin in the paint that initially looked fine.
What types of paint strainers are there?
There are various types of strainers in terms of shape and material, each with its own advantages and disadvantages. The most commonly used strainers are paper (disposable) cone strainers, cup filters for spraying, nets (or tights) or reusable filter systems.
Choosing a mesh size
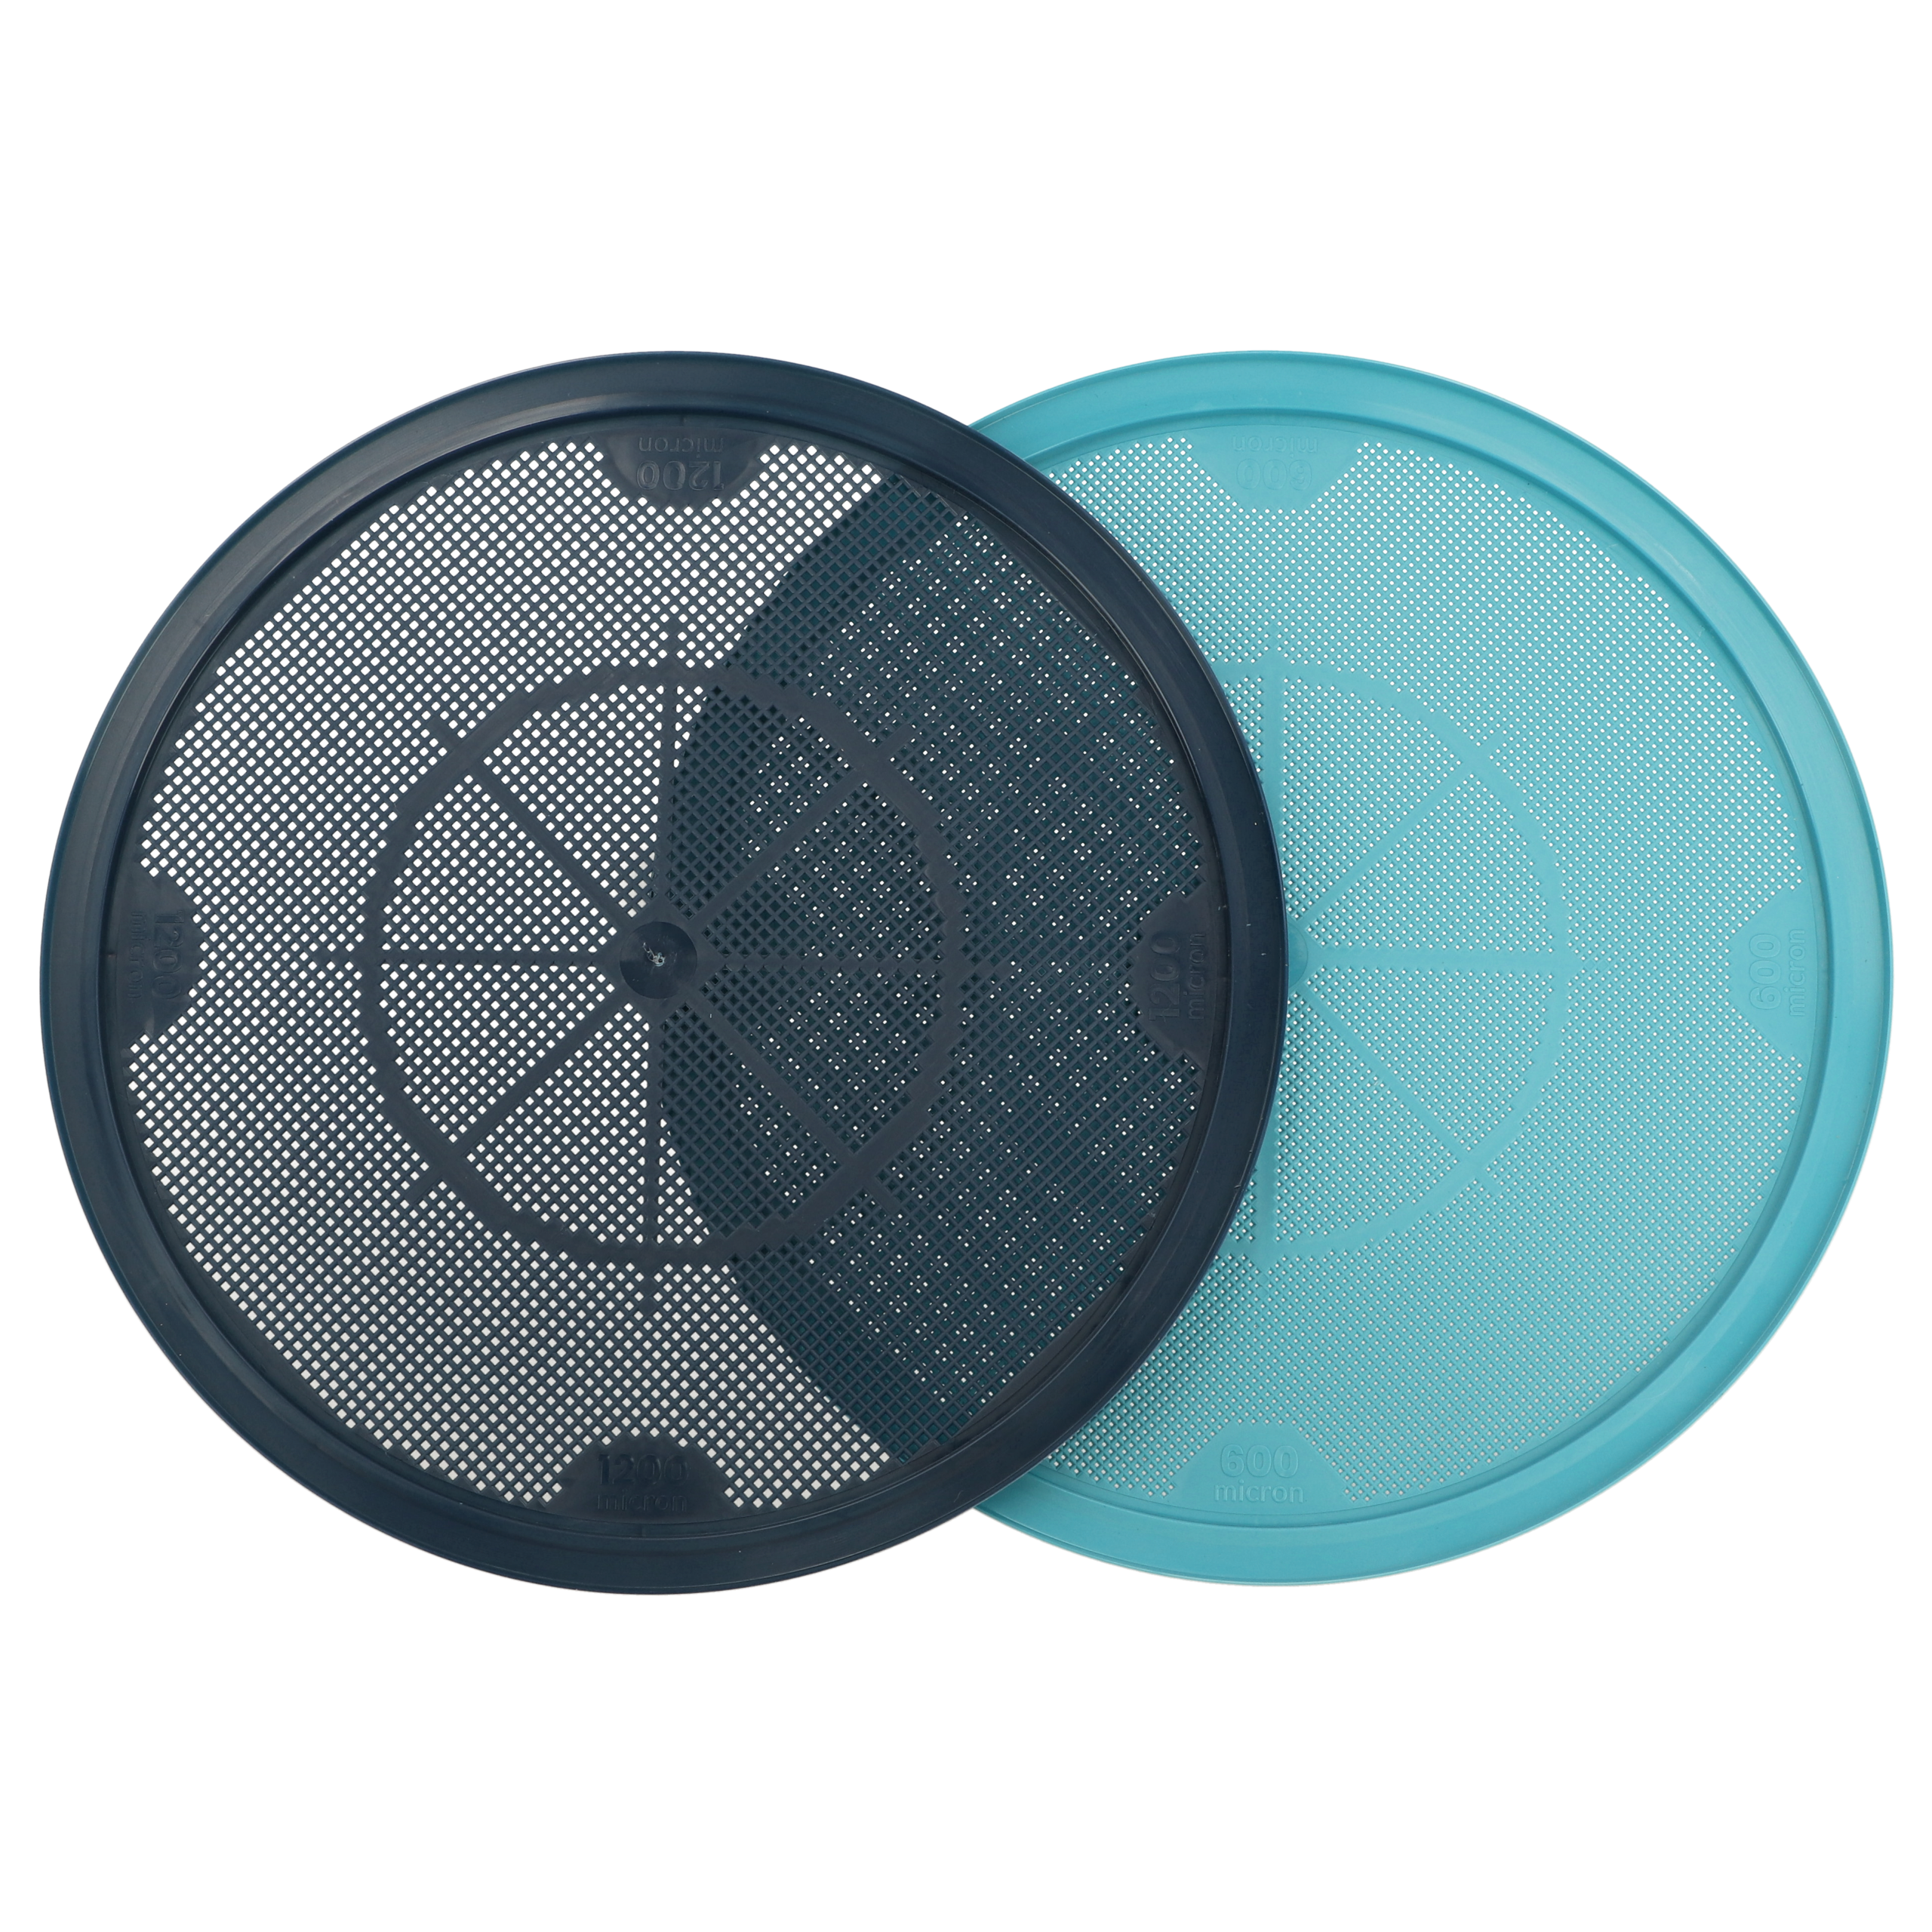
Depending on the paint thickness and temperature, as well as the speed and accuracy you require, you should choose a mesh size.
This is also referred to in microns: the lower the number of microns, the finer the filter.
Step-by-step guide: how to strain paint easily
- Always start by stirring the paint thoroughly with a clean paint stirrer.
- Place your strainer on top of a bucket, can or hopper.
- Pour the required amount of paint through the strainer into the paint bucket or tray you intend to work from.
- Allow the paint to flow through slowly. This ensures you always start with clean paint.
In this video, you can see just how simple the GO!PAINT filter system is to use.
The benefits of the new filter system:
- Hands-free – you can get on with something else whilst the paint is flowing through
- Suitable for paint cans, buckets and hoppers
- For all types of paints, coatings and lacquers
- Reusable and easy to clean
- Made from 100% recycled material
Frequently asked questions
Hoe werkt het nieuwe filter systeem?
GO!PAINT ontwikkelde twee formaten zeefhouders waar je een verwisselbare zeef als bodem in kunt klikken. In de kleine versie, FILTER S, past tot 1 liter verf en in de grote, FILTER XL, past tot wel 5 liter verf, die dan meteen gaat doorlopen.
Je kan het gebruiken bij het opstarten. Je plaatst de zeefhouder met zeef op de bak waaruit je wilt schilderen, of bovenop de hopper als je gaat spuiten en giet je de verf erin.
Je kan het ook na het schilderen gebruiken. Dan plaats je het op de verpakking waarin je de verf wilt bewaren en giet je de overgebleven verf over vanuit de bak waarmee je aan het werk was.
Laat de zwaartekracht zijn werk doen en laat de verf rustig doorlopen, terwijl je iets anders doet. Of versnel het proces door met een kwast of roerhoutje over het filter te roeren.
Hoe fijn moet mijn verfzeef zijn?
De zeven hebben verschillende maaswijdtes, uitgedrukt in microns ofwel micrometers. Een grotere maaswijdte loopt sneller door en een kleinere maaswijdte is nauwkeuriger. Werk je met een dikkere verf, zoals muurverf, dan kies je beter een grotere maaswijdte zoals 1000 of 1200 micron. Werk je met een goed vloeibaar product, zoals een fijne lakverf of een beits, dan kies je liever een kleinere maaswijdte zoals 500 of 600 micron.
Kan ik meer dan verf en lak zeven?
Uiteraard zijn de zeven ook te gebruiken met andere vloeibare producten waar verontreiniging in kan zitten, bijvoorbeeld oliën zoals meubelolie, vloerolie, of zelfs poedervormige producten met klontjes.
Hoe kan ik de zeven gebruiken als ik verf ga spuiten?
Plaats de FILTER S of XL op de beker of hopper van de verfspuit en giet de spuitverf erin. Het grote voordeel is dat de verontreiniging dan in de zeef blijft liggen en niet onderin de beker of hopper het laatste filter kan verstoppen, wat kan leiden tot vervelend haperen en spetteren van de spuit.
Hoe kan ik de filter hergebruiken?
Leg de filter ondersteboven op een oude krant, zeiltje of stucloop. Druk het filter uit de houder en laat deze drogen. Bij het gebruik van lak adviseren wij deze weg te gooien. Bij het gebruik van verf op waterbasis kan je de zeef reinigen. De houder veeg je eenvoudig schoon met een (vochtige) doek en kan je heel vaak hergebruiken.